

Laptops have become indispensable companions in our digital lives, evolving from mere computing devices to versatile workstations and entertainment hubs. To maximize their potential, laptop accessories and upgrades play a pivotal role. This guide delves into the world of laptop enhancements, exploring the best accessories to supercharge productivity, demystifying the process of upgrading components, and delving into advanced enhancements like external graphics cards and cooling pads.
Best gaming laptop under 1000 and Best gaming laptop under 1500
1. Best Laptop Accessories and upgrades: Boosting Productivity
Laptop accessories are the unsung heroes that enhance functionality and efficiency. Consider these accessories to elevate your productivity:
Dell touch screen laptop: Top 8
Docking Stations Dual monitor set up
Transform your laptop into a versatile workstation with multiple ports for peripherals, monitors, and more.
A docking station with a dual monitor setup refers to a hardware accessory that enables a laptop or computer to connect to two external monitors simultaneously. This setup provides extended screen real estate and enhanced productivity by allowing users to work across multiple displays seamlessly.
Read our post HP TOUCH SCREEN LAPTOP
Some of the best selling docking stations for dual monitor set up
- Dell USB 3.0 Ultra HD/4K Triple Display Docking Station (D3100), Black
- Lenovo USA ThinkPad Thunderbolt 3 Dock Gen 2 135W (40AN0135US) Dual UHD 4K Display Capability, 2 HDMI, 2 DP, USB-C, USB 3.1, Black
- HP USB-C Dock G5, 5TW10AA#ABB, Wired, For Notebook

- HP Thunderbolt Dock 120W with HDMI Adapter, Universal USB-C Docking Station, One Cable, Multiple Connections, with a Single USB-C™ Cable Connection to Any Brand Laptop (6HP48AA#ABL)
USB Docking Station GIQ USB C hub USB 3.0 to Dual HDMI VGA Adapter Triple Display USB C Laptop Docking Station Dual Display Compatible with MacBook M1 USB Dock-Grey
How Does a Docking Station with Dual Monitors Work?
Read our post Gaming Laptop vs Normal Laptop
A docking station is a device that connects to your laptop or computer through a single cable, typically a USB-C or Thunderbolt connection. It serves as a hub that provides various ports and connections, such as USB ports, Ethernet, audio jacks, and video outputs. Some docking stations are specifically designed to support dual monitor setups.
To achieve a dual monitor configuration, the docking station offers multiple video output ports, such as HDMI, DisplayPort, or VGA. You can connect each external monitor to these ports using the appropriate cables. The laptop’s built-in display and the two external monitors then function as three separate screens.
Benefits of a Dual Monitor Setup with a Docking Station:
- Increased Productivity: A dual monitor setup offers more screen space, allowing you to multitask efficiently. You can have one application open on one monitor while working on another application on the second monitor.
- Enhanced Workflow: Professionals who require multiple windows open simultaneously, such as programmers, designers, and financial analysts, can benefit from the extended workspace.
- Easy Connectivity: Docking stations provide a single cable connection to your laptop, which simplifies the process of connecting to multiple peripherals, including monitors.
- Efficient Presentation: In business meetings or presentations, dual monitors enable you to display your content on one screen while keeping your notes or reference material visible on the other.
- Gaming and Entertainment: Gamers and entertainment enthusiasts can enjoy an immersive experience by using one monitor for gameplay and the other for monitoring chats, streams, or other content.
Alienware 17in laptop: Our top 5 choices
Setting Up a Dual Monitor Docking Station:
- Connect the docking station to your laptop or computer using the appropriate cable (USB-C or Thunderbolt).
- Connect the first external monitor to one of the video output ports on the docking station using the compatible cable (HDMI, DisplayPort, etc.).
- Connect the second external monitor to another video output port on the docking station using the same type of cable.
- Power on the monitors and your laptop or computer.
- Depending on your operating system, adjust display settings to extend your desktop across the multiple screens.
People also read: best gaming laptop under 2K & 4K gaming laptop
Considerations:
- Ensure that your laptop or computer supports the number and type of video outputs required for dual monitors.
- Check the specifications of the docking station to confirm its compatibility with your laptop and monitors.
- Select monitors with consistent resolutions and refresh rates for a smooth visual experience.
In summary, a docking station with a dual monitor setup is an excellent solution for expanding your digital workspace, enhancing productivity, and enjoying a more immersive computing experience. It’s particularly beneficial for professionals who require multitasking capabilities and those who appreciate efficient screen utilization.
VivoBook Pro 15 OLED: The Ultimate AMD Ryzen Series Laptop
External Keyboards and Mice
Ergonomics matters. A separate keyboard and mouse enhance comfort during extended work sessions.
- Logitech MX Keys S Wireless Keyboard, Low Profile, Fluid Precise Quiet Typing, Programmable Keys, Backlighting, Bluetooth, USB C Rechargeable, for Windows PC, Linux, Chrome, Mac – Pale Grey
- Logitech MX Mechanical Full-Size Illuminated Wireless Keyboard, Click, and MX Master 3S Performance Wireless Bluetooth Mouse Bundle, macOS, Windows, Linux, iOS, Android
- Logitech MX Keys S Combo – Performance Wireless Keyboard and Mouse with Palm Rest, Customizable Illumination, Fast Scrolling, Bluetooth, USB C, for Windows, Linux, Chrome, Mac – Pale Grey
Logitech POP Keys Wireless Mechanical Keyboard with Customizable Emoji Keys (Blast Yellow) Bundle with POP Mouse (Blast Yellow), Palm Rest, 4-Port USB 3.0 Hub, and Mouse Pad (5 Items)

Webcams
Upgrade your video conferencing game with a high-quality external webcam for clear and crisp visuals.
- Logitech C920x HD Pro Webcam, Full HD 1080p/30fps Video Calling, Clear Stereo Audio, HD Light Correction, Works with Skype, Zoom, FaceTime, Hangouts, PC/Mac/Laptop/Macbook/Tablet – Black
- Enther & MAXHUB 4K Video Conference Camera, Video and Audio Conferencing System All-in-One Webcam with Microphone for Small Meeting Rooms Wide Angle
External Hard Drives
 Extend storage capacity with ease and keep your laptop clutter-free. Some of the best ones
Exploring the World of 4K Gaming Laptop
- WD 16TB Elements Desktop External Hard Drive, USB 3.0 external hard drive for plug-and-play storage – WDBWLG0160HBK-NESN –
- Seagate Portable 5TB External Hard Drive HDD – USB 3.0 for PC, Mac, PS4, & Xbox – 1-Year Rescue Service (STGX5000400), Black
- WD 5TB Elements Portable HDD, External Hard Drive, USB 3.0 for PC & Mac, Plug and Play Ready – WDBU6Y0050BBK-WESN
- Toshiba Canvio Basics 4TB Portable External Hard Drive USB 3.0, Black – HDTB540XK3CA
- Additional Storage Space: One of the primary reasons for using external hard drives is to expand storage capacity. As files, documents, photos, videos, and applications accumulate over time, internal storage can become limited. External hard drives offer terabytes of extra space, ensuring you have room for your growing data collection.
- Data Backup and Redundancy: External hard drives are commonly used for data backup. Storing copies of important files, documents, and media on an external drive provides redundancy, safeguarding your data against hardware failures, accidental deletions, or system crashes. Regular backups help prevent data loss and ensure you have a secure copy of your information.
- Portability and Accessibility: External hard drives are compact and portable, allowing you to carry your data with you wherever you go. This is particularly useful for students, professionals, and travelers who need access to their files on different devices without relying on cloud services.
- File Sharing and Transfer: External hard drives facilitate easy file sharing and transfer between computers and devices. You can store files on the external drive and connect it to different computers, making it convenient to share large files with colleagues, friends, or family members.
- Device Performance: Having ample storage on an external drive can help maintain your device’s performance. When your internal storage is nearing capacity, it can lead to slower operation. Offloading large files or applications to an external drive can free up space and improve your device’s responsiveness.
- Multimedia Storage: External hard drives are ideal for storing multimedia content such as photos, videos, music, and movies. This is especially beneficial for content creators, photographers, and videographers who produce and store large media files.
- Privacy and Security: External hard drives provide an offline storage option, ensuring that sensitive data remains disconnected from the internet and less susceptible to online threats. This can be particularly important for confidential business documents or personal information.
- Archiving Old Data: As your primary storage fills up, you may want to archive older files that you don’t need to access frequently. An external hard drive is a convenient solution for storing these files while keeping them accessible when needed.
- Time Machine and System Backup (Mac): Mac users can use external hard drives for Time Machine backups, which provide a simple and automated way to back up their entire system, including the operating system, applications, and personal files.
- Temporary Storage for Large Projects: Professionals working on large projects, such as video editing or graphic design, can use external hard drives to store project files temporarily. This helps prevent the internal drive from becoming cluttered and slowing down the system.
2. Upgrading Laptop Components: Unleash Enhanced Performance
If you seek to breathe new life into your laptop, consider upgrading essential components. Here’s a breakdown:
How to Upgrade Your Laptop’s RAM?
A Step-by-Step Guide: Upgrading your laptop’s RAM can significantly enhance its performance, allowing it to handle more applications and tasks seamlessly. If you’re looking to boost your laptop’s speed and multitasking capabilities, here’s a simple step-by-step guide on how to upgrade your RAM.
Disclaimer: RAM upgrades are straightforward, it’s important to handle all components carefully to avoid any damage. If you’re unsure about any step, it’s a good idea to consult your laptop’s user manual or seek assistance from a professional technician.
1. Determine Compatibility: Before you start, make sure to check your laptop’s specifications and identify the type and speed of RAM it supports. You can usually find this information in the laptop’s user manual or on the manufacturer’s website.
2. Gather the Necessary Tools: You’ll need a few tools for the upgrade, including a screwdriver, an anti-static wrist strap (to prevent damaging components with static electricity), and, of course, the new RAM modules.
3. Back Up Your Data: Although RAM upgrade shouldn’t affect your data, it’s always a good practice to back up your important files and documents, just in case.
4. Power Off and Unplug: Turn off your laptop and unplug it from any power source. This ensures your safety and prevents any accidental damage.
5. Open the Laptop Case: Carefully remove the screws that secure the laptop’s bottom cover. Keep the screws organized to avoid confusion during reassembly.
6. Locate the RAM Slots: Locate the existing RAM modules on the motherboard. They look like small rectangular chips inserted into slots. In most cases, there are two slots, but this can vary depending on your laptop model.
7. Release and Remove Existing RAM: Gently push apart the clips or tabs on the sides of the RAM modules to release them. Once they pop up at an angle, you can carefully slide them out of the slots.
8. Insert the New RAM: Hold the new RAM modules by the edges, align the notches on the module with the notches on the slot, and gently slide them in at a slight angle. Press down firmly until the clips or tabs snap into place on both sides.
9. Secure the Laptop Cover: Carefully reattach the laptop’s bottom cover and secure it with the screws you removed earlier.
10. Power Up: Plug in your laptop, turn it on, and check if it recognizes the new RAM. To do this, you can check your laptop’s system properties or use a system information tool.
11. Verify and Test: After the laptop boots up, verify that the new RAM is recognized and showing the correct amount in the system properties. You can also run some demanding applications or multitask to ensure that the upgrade has improved your laptop’s performance.
12. Enjoy the Upgrade: Congratulations! Your laptop is now equipped with upgraded RAM, providing a smoother and more efficient computing experience.
How to Upgrade Your Laptop’s SSD?
Upgrading your laptop’s SSD (Solid State Drive) can significantly enhance its storage capacity and speed up its overall performance. If you’re looking to increase storage space or enjoy faster data access, here’s a step-by-step guide on how to upgrade your laptop’s SSD.
Disclaimer: SSD upgrades are straightforward, it’s crucial to handle all components with care and follow the manufacturer’s instructions. If you’re unsure about any step, consider consulting your laptop’s user manual or seeking assistance from a professional technician.
1. Determine Compatibility: Before you start, identify the type of SSD that is compatible with your laptop. Check your laptop’s specifications or user manual, and make sure to choose an SSD that matches the interface (e.g., SATA, NVMe) and physical size (e.g., 2.5-inch, M.2) supported by your laptop.
2. Back Up Your Data: It’s essential to back up your important data before upgrading the SSD. While the upgrade itself shouldn’t cause data loss, it’s better to be safe and have a backup.
3. Gather Necessary Tools: You’ll need a few tools for the upgrade, including a screwdriver, an anti-static wrist strap (to prevent static discharge), and, of course, the new SSD.
4. Power Off and Unplug: Turn off your laptop and unplug it from any power source to ensure safety and prevent damage.
5. Open the Laptop Case: Carefully remove the screws that secure the laptop’s bottom cover. Place the screws aside in an organized manner to avoid confusion during reassembly.
6. Locate the Existing SSD: Locate the current SSD in your laptop. It might be in a dedicated slot or secured with screws. Take note of its placement for when you install the new SSD.
7. Remove the Existing SSD: If your existing SSD is in a dedicated slot, gently disconnect any cables and screws that secure it. If it’s secured with screws, unscrew them and carefully remove the SSD.
8. Insert the New SSD: Hold the new SSD by its edges and gently slide it into the slot, ensuring it’s aligned properly. If you’re using an M.2 SSD, make sure it’s inserted at the correct angle and firmly seated in the slot.
9. Secure the SSD: If necessary, secure the new SSD with screws or reconnect any cables you removed earlier.
10. Replace the Laptop Cover: Carefully reattach the laptop’s bottom cover and secure it with the screws you removed earlier.
11. Power Up: Plug in your laptop, turn it on, and check if the new SSD is recognized by the system. You can verify this by checking the laptop’s storage settings or using a system information tool.
12. Restore Data and OS: If you cloned your old SSD or have a backup, you can restore your data onto the new SSD. Alternatively, you might need to reinstall the operating system and applications.
13. Verify and Test: After restoring data or reinstalling the OS, test the laptop’s performance to ensure that the new SSD is functioning properly and providing the desired improvements.
14. Enjoy the Upgrade: Congratulations! Your laptop is now equipped with an upgraded SSD, offering increased storage and faster performance for a smoother computing experience.
Alternatively, you can opt for external accessories as substitutes. For instance, external hard drives expand storage, while external optical drives cater to DVD and CD needs.
3. External Graphics Card (eGPU): Elevating Gaming Performance
Gaming enthusiasts can experience a boost in performance by investing in an external graphics card (eGPU). When connected, an eGPU enhances your laptop’s graphics capabilities, allowing for smoother gameplay and improved visuals. This is particularly beneficial for laptops with integrated graphics that struggle with demanding games. An external GPU, or eGPU, is a device that allows you to achieve desktop-quality graphics on any compatible PC.
It is a relatively new concept in the market, but it is an amazing device that can help you watch 4K videos or play games that require high graphics. External graphics cards come with a compatible hardware interface that is easy to set up and use. Most laptops are now compatible with an external graphics card with the help of multiple ports, such as Bluetooth, VGA, or Thunderbolt 3. Is an external GPU worth it? Yes, it is worth it if you want to improve your laptop’s graphics performance.
An external graphics card is manufactured to work with your laptop and can be connected to it using a compatible hardware interface. 14 Best External Graphics Card For Laptops | External GPU 2023
Why are eGPU enclosures so expensive?
eGPU enclosures can be expensive because they come with a power supply and a cooling system, which can add to the cost. Additionally, some eGPU enclosures come with a pre-installed GPU, which can also increase the price. Some popular eGPU enclosures include the Razer Core X, which is compatible with Thunderbolt 3 and Thunderbolt 4 systems running Windows 10 RS5 or later. The Asus ROG XG Station 2 is another popular option, but it is more expensive than other eGPU enclosures
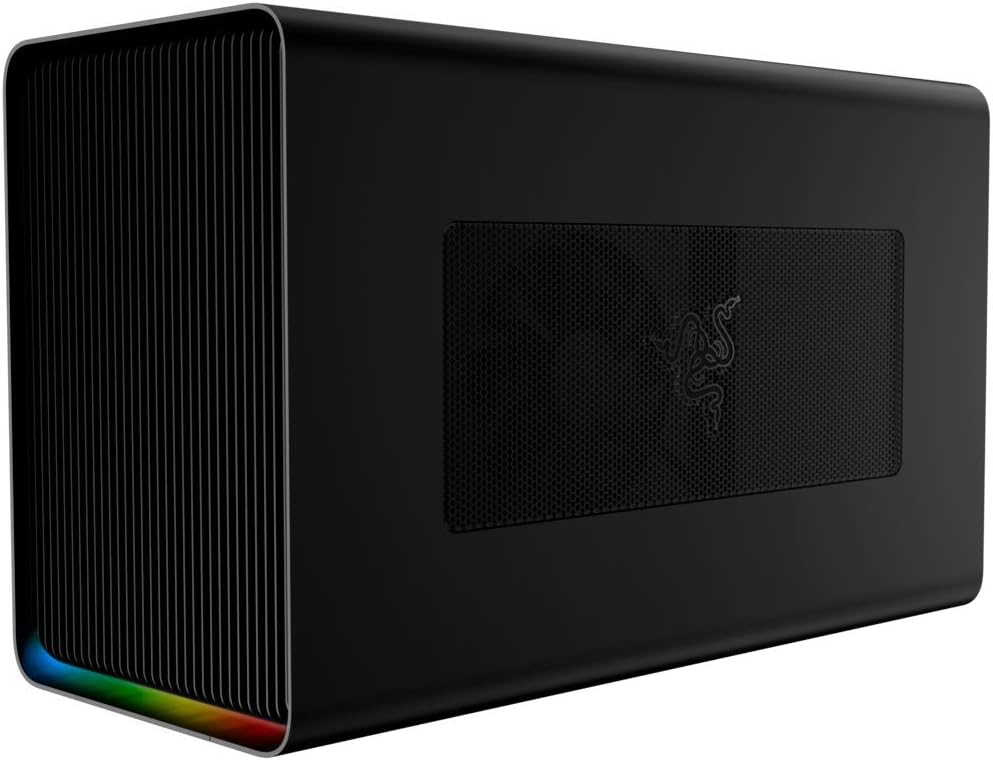
Razer Core X Chroma: Elevate Your Laptop’s Graphics Power
The Razer Core X Chroma Aluminum External GPU Enclosure brings a new dimension to laptop performance, seamlessly bridging the gap between portability and desktop-grade power. This innovative device unleashes the potential of Thunderbolt 3 laptops by providing compatibility with up to 3 slot wide PCIe full-sized desktop graphics cards. With a range of features designed to enhance your gaming and creative experiences, the Razer Core X Chroma is a formidable addition to any setup. (Note: Graphics card sold separately).
Desktop-Grade Performance
This external GPU enclosure provides the perfect platform for installing powerful desktop graphics cards (graphics card NOT included). The result? An immense boost in performance that takes your gaming, content creation, and multitasking to a whole new level. Dive into graphics-intensive tasks with confidence, knowing that the Razer Core X Chroma is designed to deliver a seamless experience.
Built-In Power Supply: Effortless Charging and Performance
Featuring a robust 700W ATX PSU, the Razer Core X Chroma not only powers your graphics card but also charges your laptop with up to 100W via Thunderbolt 3. This dual-purpose power delivery ensures that your laptop remains fully charged, even during demanding tasks. With GPU max power support of up to 500W, you have the potential to harness the raw power of top-tier graphics cards for unrivaled performance.
Customizable RGB Lighting: Illuminate Your Setup
The Razer Core X Chroma introduces customizable RGB lighting, boasting an impressive palette of 16.8 million colors. This lighting system can sync with your gameplay and other Razer peripherals through Synapse 3, providing a visually captivating experience that immerses you in your content. It’s worth noting that while lighting customization isn’t supported on macOS, Windows users can enjoy the full spectrum of RGB customization.
Compatibility and Flexibility: Windows and macOS
Designed for both Windows and macOS users, the Razer Core X Chroma offers compatibility with specific requirements. Windows users will need Thunderbolt 3 external graphics (eGPU) support with RS45 or later and compatible NVIDIA or AMD graphics cards. On the macOS side, the enclosure requires Thunderbolt 3 and High Sierra 10.13.4 or later, with support limited to compatible AMD graphics cards (NVIDIA cards not supported).
Razer Core X vs. Core X Chroma: Choosing the Perfect eGPU
In the realm of external graphics card (eGPU) enclosures, Razer’s offerings stand out for their ability to supercharge the graphical performance of slim laptops while expanding connectivity options. The Razer Core X and Core X Chroma are two exceptional choices, each catering to specific needs and preferences. Let’s delve into their differences to help you make an informed decision.
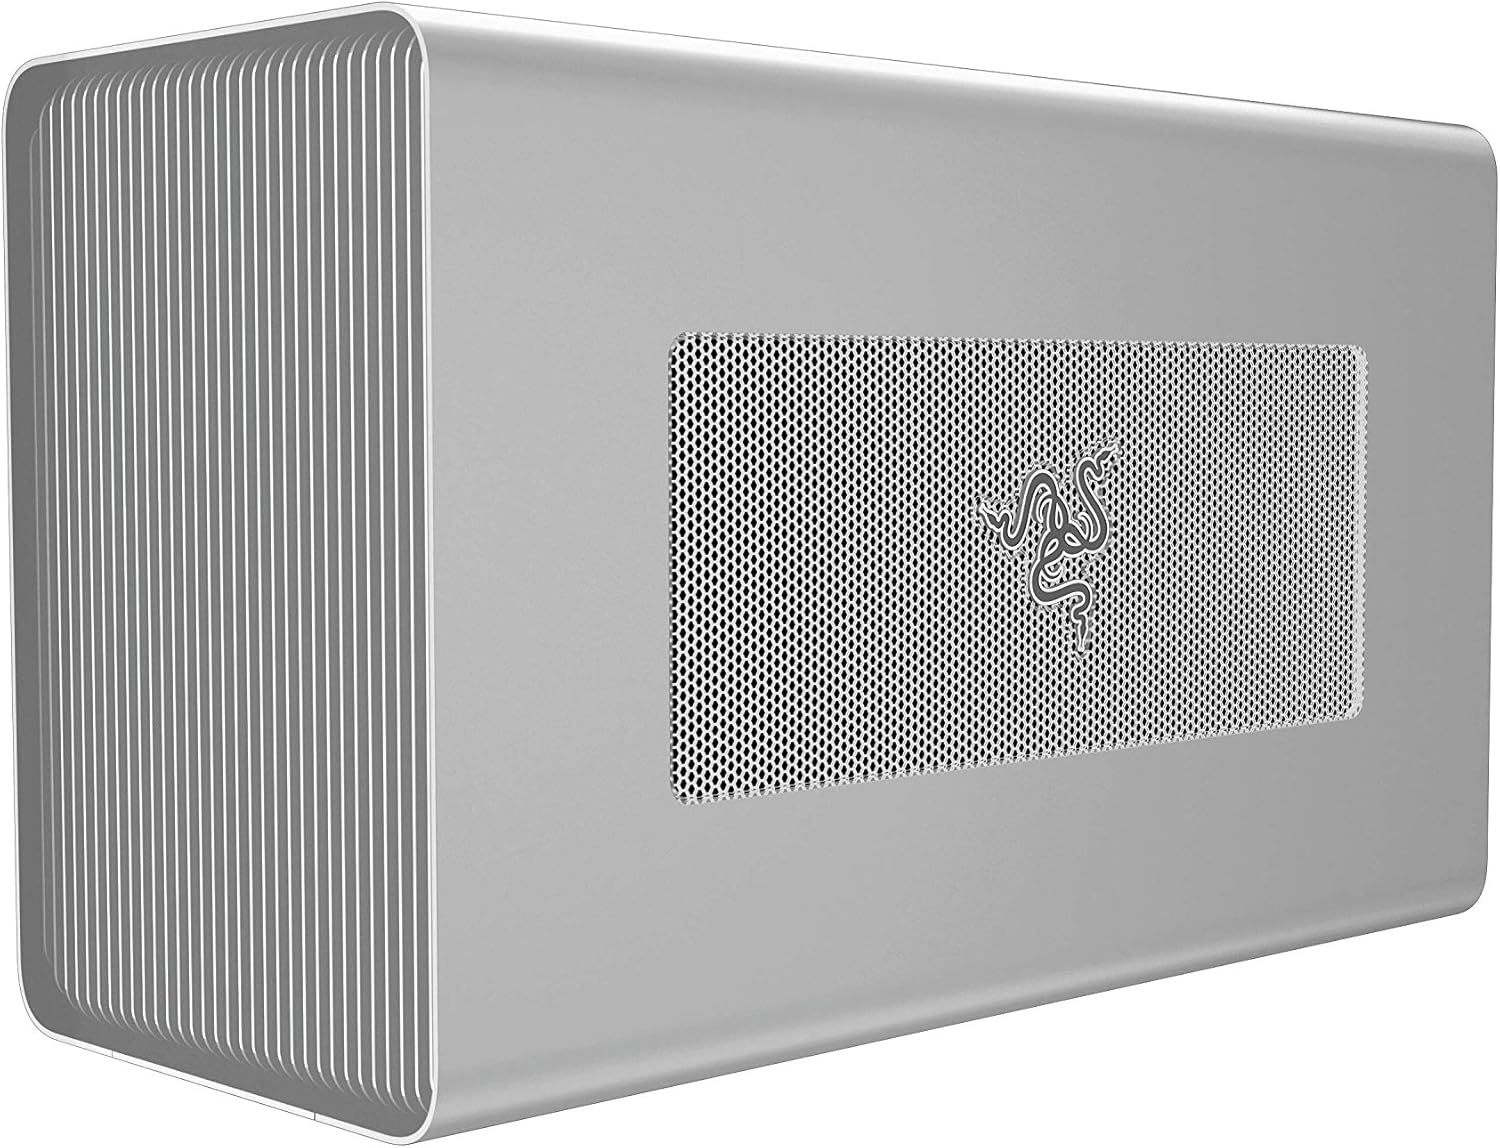
Razer Core X Aluminum External GPU Enclosure (eGPU)
The Razer Core X is a robust eGPU enclosure designed to elevate your laptop’s graphics prowess without breaking the bank. Priced at $399, it offers a cost-effective solution for enhancing gaming and content creation experiences. This model comes equipped with an ATX 650W power supply, providing ample juice to your graphics card. While it may lack RGB lighting, it compensates with exceptional performance.
Key Features of Razer Core X:
- Cost: $399
- Power Supply: ATX 650W
- RGB Lighting: Absent
- Connectivity: One Thunderbolt 3 port and one 6-pin power connector
- GPU Power Support: Up to 500W
- Other Features: Performance-focused, cost-effective solution
Razer Core X Chroma: Elevated Performance at $499
For those seeking a more feature-rich experience, the Razer Core X Chroma is an enticing option. Priced at $400, it offers upgraded functionalities that cater to enthusiasts and professionals. The ATX 700W power supply ensures a substantial power boost, with an extra 50W compared to the Core X. Notably, the Core X Chroma boasts captivating RGB lighting that syncs with Razer peripherals for an immersive visual experience. The addition of four USB 3.1 ports and a Gigabit Ethernet port expands your connectivity options, making it a versatile hub for various devices.
Key Features of Razer Core X Chroma:
- Cost: $499
- Power Supply: ATX 700W
- RGB Lighting: Present
- Connectivity: One Thunderbolt 3 port, one 6-pin power connector, four USB 3.1 ports, and one Gigabit Ethernet port
- GPU Power Support: Up to 500W
- Other Features: RGB lighting, enhanced connectivity options
Making the Right Choice
Both the Razer Core X and Core X Chroma offer a maximum GPU power support of 500W, ensuring your laptop gets the graphical boost it deserves. While the Core X comes at a lower price point, the Core X Chroma justifies its higher cost with additional features that enhance both aesthetics and functionality. The Chroma variant’s RGB lighting and expanded connectivity options make it an attractive choice for those who value both performance and versatility.
In the end, the choice between the Razer Core X and Core X Chroma boils down to your priorities. If you’re seeking a performance-focused, cost-effective solution, the Core X is an excellent fit. On the other hand, if you desire a more comprehensive experience with RGB lighting and enhanced connectivity, the Core X Chroma is your gateway to an elevated eGPU encounter.
4. Laptop Cooling Pads: Keeping Your Laptop Cool
Overheating is a common issue that can hinder laptop performance and longevity. Laptop cooling pads offer a solution. These accessories feature built-in fans that provide airflow and dissipate heat, preventing overheating during prolonged usage. Cooler laptops not only perform better but also endure less wear and tear, extending their lifespan.
- havit HV-F2056 15.6″-17″ Laptop Cooler Cooling Pad – Slim Portable USB Powered (3 Fans), Black/Blue
- Laptop Cooling Pad, Laptop Cooler with 6 Quiet Led Fans for 15.6-17 Inch Laptop Cooling Fan Stand, Portable Ultra Slim USB Powered Gaming Laptop Cooling Pad, Switch Control Fan Speed Function.
- SOUNDANCE Laptop Cooling Pad with Low-Noise Fan and 3.0 USB Hubs, Ventilated Laptop Cooler Prevent Overheating, Ergonomic Laptop Stand Support Up to 17” Gaming Notebook Computer, Aluminum
- Cooler Master R9-NBC-A2HS-GP NotePal A200 – Ultra-Slim Laptop Cooling Pad with Dual 140mm Silent Fans
Conclusion
Laptop accessories and upgrades enable you to tailor your device to your unique needs and preferences. Whether it’s enhancing productivity, boosting gaming performance, or extending lifespan through cooling solutions, there’s an array of options to explore. As technology continues to evolve, your laptop can keep pace, offering a seamless blend of functionality, power, and convenience. By carefully selecting accessories and upgrades that align with your requirements, you’re bound to unlock a laptop experience that exceeds expectations.
